

STEP 2 --- Click ADD LAYER MASK button.

STEP 3 --- Select BRUSH TOOL and set black color as foreground color. Start dragging the mouse to hide the parts which are not needed.

STEP 4 --- Layer masking is done.

STEP 5 --- Add a new layer and drop grey color as the background. This will help you to see the picture easier.

STEP 6 ---Open the wolf picture which is downloaded from Flickr.
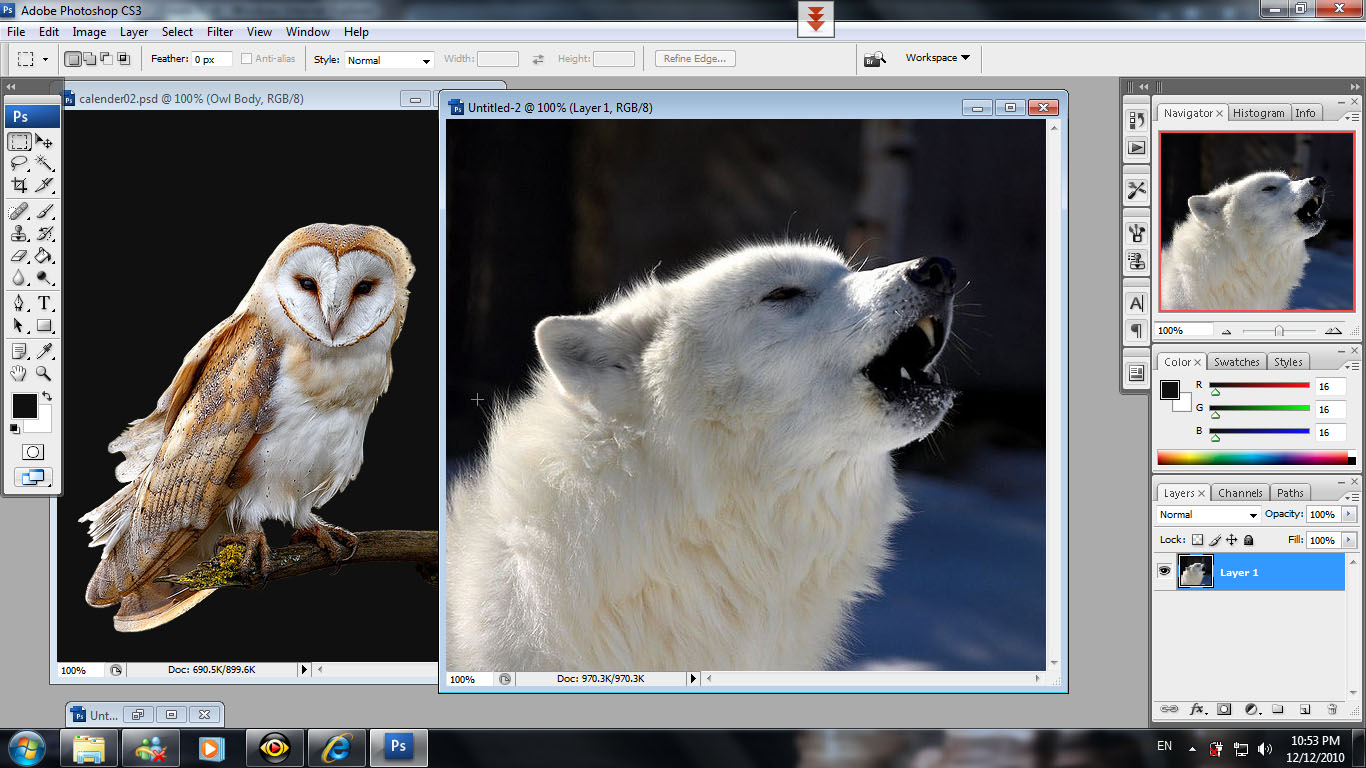
STEP 7 --- Since I want to cut out the hair details, so I can't use layer masking method. So, I choose to use EXTRACT tool. Select EXTRACT, then click EXTRACT.

STEP 8 --- Select EDGE HIGHLIGHTER TOOL, drag the mouse to highlight the edge of the wolf.

STEP 9 --- Select FILL TOOL and click on the wolf to drop blue highlight.

TO BE CONTINUED...
No comments:
Post a Comment