
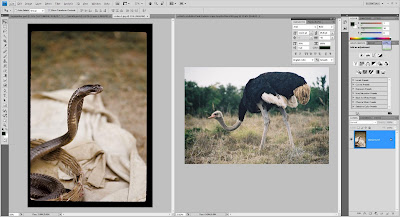
STEP 1 - I start by looking for suitable pictures to do my "crossbreeding".
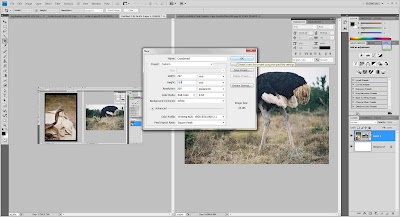
STEP 2 - Open up a new tab for "crossbreeding". Let's name the new tab "Crossbreed".
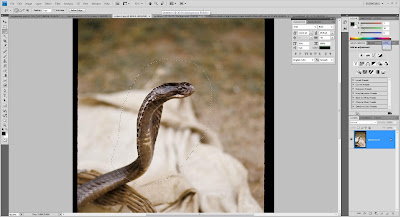
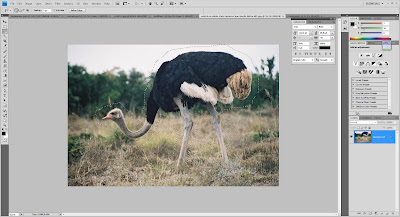
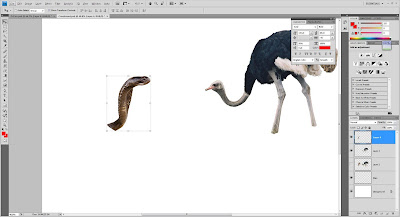
STEP 3 - Highlight the body parts of the animals using "Lasso Tool" for pasting on the "Crossbreed" tab.
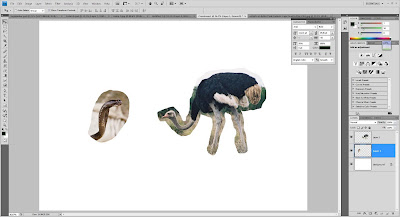
STEP 4 - "Lasso Tool" only did a rough highlight on the animals. To really crop them out I use "Channels" to do the work. By using RGB colours, Red has the best contrast for both animals.
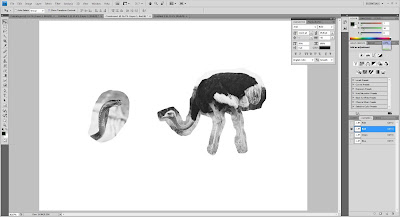
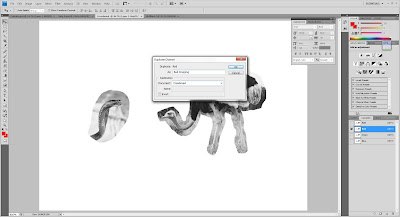
STEP 5 - Duplicate the Red Channel so the original channel could remain untouched. I named it "Red Cropping". After that, disable the visibility on other channels.
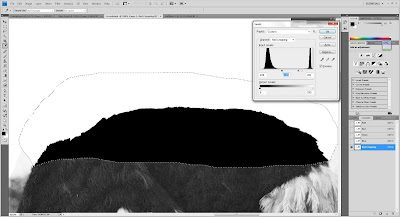
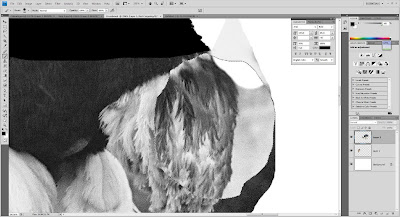
STEP 6 - Using Lasso Tool again to highlight. Then open up "Levels" and adjust the Shadow, Midtone and Highlight to make the highlighted area show a big black-and-white difference. Sometimes the background will turn dark together. So I used "Brush Tool" in white to paint around the animal and in black to paint the animal. For the ostrich, it is a little challenging because it also has white on it's body. All I have to do is just highlight the white feathers and use "Levels" on them but this time I "Invert" the colours because now I'm using black to differentiate.
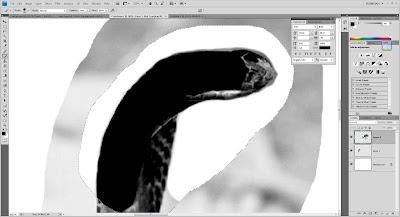
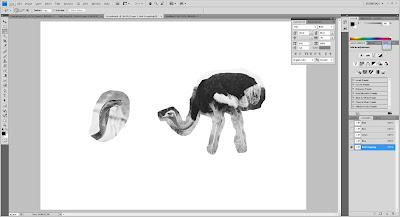
STEP 7 - After all is done, I "Invert" it again. Then I hold the "Ctrl" button and clicked on the "Red Cropping" channel to select the white highlights.
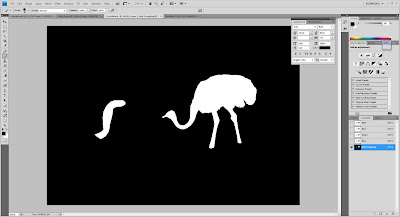

STEP 8 - Enable other channels and disable the "Red Cropping" channel. The I Merge the cobra and ostrich layers and create a new layer called "Plain".

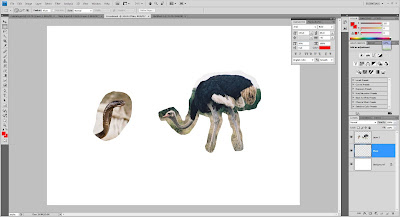
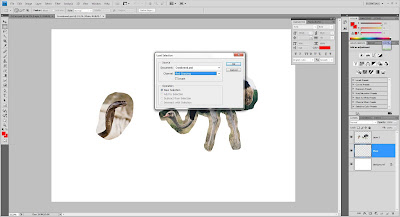
STEP 9 - Go to "Selection" and choose "Load Selection". Select the "Red Cropping" which I did just now and click "OK". The highlighted areas will appear as I have selected them before. Then click on the layer with animals and press Ctrl+J to copy the selected areas. After that, disable the visibility on the previous layer.
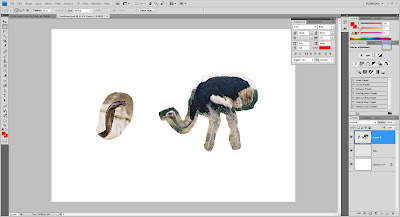

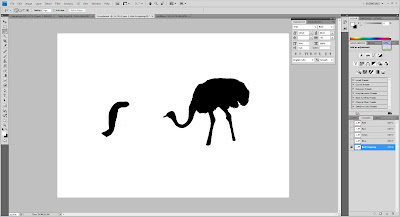
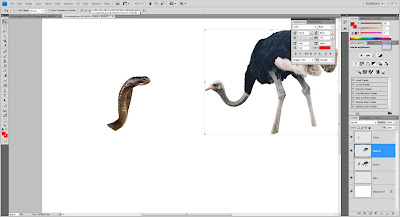
STEP 10 - By using "Lasso Tool" again, I cut the cobra head and pasted it on a new created layer. Then I named the layers "Cobra" and "Ostrich".
STEP 11 - Create a "Layer Mask" for masking and apply it after that. Then, I mirrored the cobra head and moved it next to the ostrich body and adjusted the head to make it slanted. Again, I used "Lasso Tool" to copy a little part from the cobra's neck and merged the new layer with the "Cobra" layer. To make it look more realistic, I used "Clone Stamp Tool" to patch the neck part.

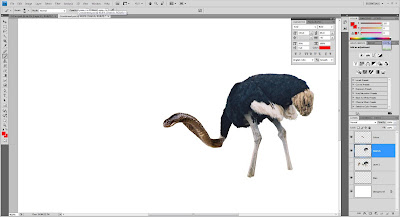
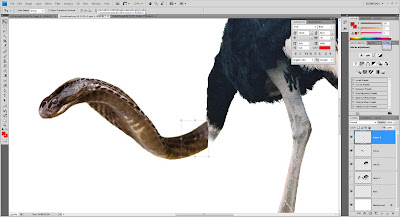
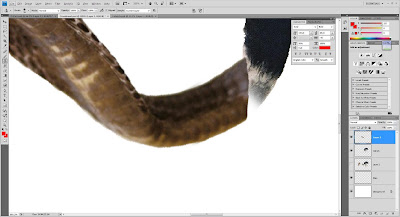
STEP 12 - Merge the cobra's head with the Ostrich and use the same technique - "Clone Stamp Tool" to patch it up to make it look more realistic. After doing this I highlighted the ostrich's body using "Lasso Tool" and opened the "Hue/Saturation" option and adjusted the saturation to make it look black and white in order to let the cobra's head stand out. Now that it's done, I named the layer "Cobrich" which stands for the crossbreed of cobra and ostrich.
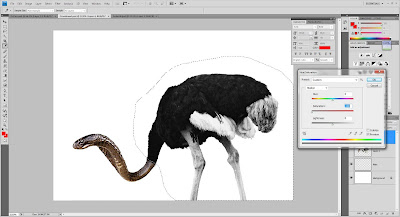
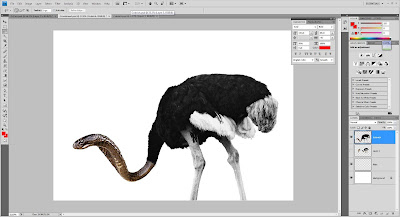
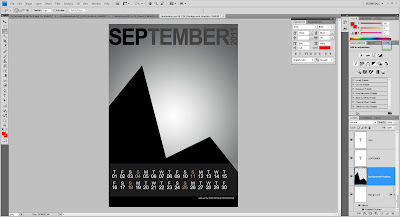
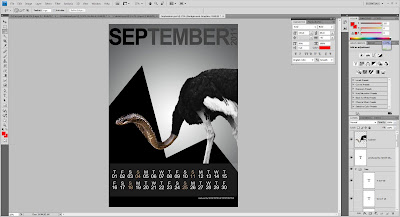
STEP 13 - Open a new tab and named it "September" for this is the tab to finalize on the artwork. Using similar template design(except for the background graphic, dates, name and colour) used by my group mates, I pasted the "Cobrich" layer and adjusted it's position and changed the colours on Sundays to suit the colour of the Cobrich's head.
The End...

STEP 2 - Open up a new tab for "crossbreeding". Let's name the new tab "Crossbreed".

STEP 3 - Highlight the body parts of the animals using "Lasso Tool" for pasting on the "Crossbreed" tab.


STEP 4 - "Lasso Tool" only did a rough highlight on the animals. To really crop them out I use "Channels" to do the work. By using RGB colours, Red has the best contrast for both animals.

STEP 5 - Duplicate the Red Channel so the original channel could remain untouched. I named it "Red Cropping". After that, disable the visibility on other channels.


STEP 6 - Using Lasso Tool again to highlight. Then open up "Levels" and adjust the Shadow, Midtone and Highlight to make the highlighted area show a big black-and-white difference. Sometimes the background will turn dark together. So I used "Brush Tool" in white to paint around the animal and in black to paint the animal. For the ostrich, it is a little challenging because it also has white on it's body. All I have to do is just highlight the white feathers and use "Levels" on them but this time I "Invert" the colours because now I'm using black to differentiate.


STEP 7 - After all is done, I "Invert" it again. Then I hold the "Ctrl" button and clicked on the "Red Cropping" channel to select the white highlights.


STEP 8 - Enable other channels and disable the "Red Cropping" channel. The I Merge the cobra and ostrich layers and create a new layer called "Plain".


STEP 9 - Go to "Selection" and choose "Load Selection". Select the "Red Cropping" which I did just now and click "OK". The highlighted areas will appear as I have selected them before. Then click on the layer with animals and press Ctrl+J to copy the selected areas. After that, disable the visibility on the previous layer.


STEP 10 - By using "Lasso Tool" again, I cut the cobra head and pasted it on a new created layer. Then I named the layers "Cobra" and "Ostrich".


STEP 11 - Create a "Layer Mask" for masking and apply it after that. Then, I mirrored the cobra head and moved it next to the ostrich body and adjusted the head to make it slanted. Again, I used "Lasso Tool" to copy a little part from the cobra's neck and merged the new layer with the "Cobra" layer. To make it look more realistic, I used "Clone Stamp Tool" to patch the neck part.


STEP 12 - Merge the cobra's head with the Ostrich and use the same technique - "Clone Stamp Tool" to patch it up to make it look more realistic. After doing this I highlighted the ostrich's body using "Lasso Tool" and opened the "Hue/Saturation" option and adjusted the saturation to make it look black and white in order to let the cobra's head stand out. Now that it's done, I named the layer "Cobrich" which stands for the crossbreed of cobra and ostrich.


STEP 13 - Open a new tab and named it "September" for this is the tab to finalize on the artwork. Using similar template design(except for the background graphic, dates, name and colour) used by my group mates, I pasted the "Cobrich" layer and adjusted it's position and changed the colours on Sundays to suit the colour of the Cobrich's head.


The End...
No comments:
Post a Comment