Tuesday, December 14, 2010

Yee Kuang Hooi's work part 1

And now, I have to take my turn to post already =x=
Firstly, my first animal crossbreed are penguin and dove.
And I name it as Pendove.

I found two picture of both animals as a reference.
Dove Wing
g
Penguin

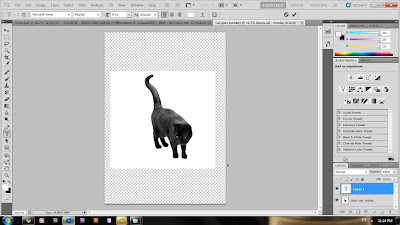
And now I started my work.
Firstly,I use rectangular marquee tool to cut it.
After that the crop line was automatically attach to the side of the dove wing.
And then, I press Alt + right click to copy  the Dove Wing Picture.
After that I place it at the Penguin.png


After that, I duplicate 2 more dove wing layer.
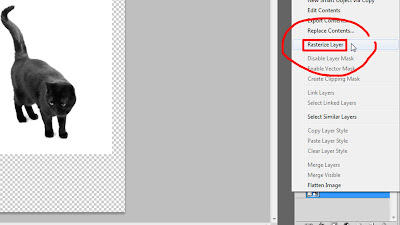
Then, I take the First dove wing to start masking layer.
After click the Masking Layer tool,
I use brush to start removing the unwanted part.
The same method used for both side's wing and tail.


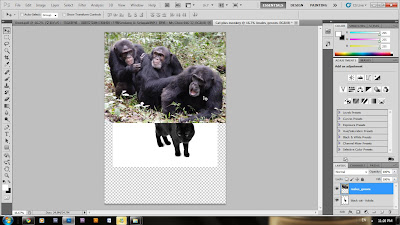
After that, I think the Penguin's wing are so annoyed, So I decided to remove it.
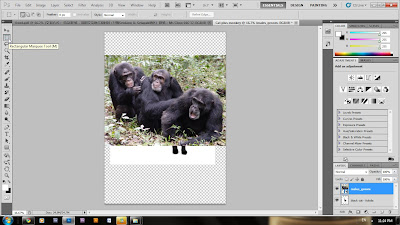
I use Polygonal lasso tool to crop it, and den delete it.
Same method are used on the other wing.


Lastly, It is the tail.
The original tail look does not suit the angle of the current penguin.
I use Ctrl + Right click to make it look better.
After that masking technque is used to remove unwanted place.


After all thing are checked and repair, A crossbreed animal -- Pendove is born.


Sunday, November 7, 2010

Samuel, part 1.

*you must rasterize your layer if there is a cross on ur layer. This is to make your layer editable.

*use rectangular marquee tool to mark the part that you want. Then, Ctrl + X > Ctrl + V to cut and paste it...

*select the layer of the other two monkeys, and delete it.

To be Continue!


ZO-WORK PART 2

STEP 1 --- Click IMAGE, then select CANVAS SIZE. A box pop out. I change both the width and height to 1000 pixels. This act will give you a larger space to work on.


STEP 2 --- Use PAINT BUCKET TOOL to drop red colour on the empty space.


STEP 3 --- Open the original cheetah and drag it to the new document window. Rename it to CHEETAH HAIR.


STEP 4 --- We can't see the hair details clearly after using ERASER. We can use following step to get more detail hair. Click FILTER, select EXTRACT. Select EDGES HIGHLIGHTER TOOLS and start dragging your mouse to highlight the outline of the cheetah. Next, select FILL TOOL or click G button, then click the empty space inside the outline to fill it up. Then, click OK. (I cant use print screen after I open the EXTRACT window, so I can only describe this step by words)

STEP 5 --- Open the bat picture and drag it to your document window.


STEP 6 --- Change the layer name to LEFT WING.


STEP 7 --- Click EDIT, select TRANSFORM and select FLIP HORIZONTAL.


STEP 8 --- USE ERASER TOOL to erase all part except the left wing. Click EDIT, then FREE TRANSFORM to adjust wing size.


STEP 10 --- Select part of the leopard skin, click EDIT, select COPY and click PASTE. Rename the layer as WING SKIN 1.


STEP 11 --- Move the WING SKIN 1 layer below the LEOPARD layer.


STEP 12 --- Click EDIT, select TRANSFROM, then selsct WARP to reshape the wing so it attach nicely to the wing and the leopard back.


TO BE CONTINUED...

Thursday, November 4, 2010

JASON WONG - WORK PART 1 (Giraffe + Tiger)

This what I did (picture above) for my 'tiger+giraffe' as I combine them...Below is how I did it:
 First, since my photoshop is already opened, I went toFile>New and edit the settings and clicked 'OK'. I then dragged the giraffe picture that I have saved in my computer after I downloaded it from the internet into the photoshop.
Next,  I renamed the layer 'giraffe-statue' to 'girraffe'. Then, I duplicate the layer to create layer 'girraffe copy'.
 After that, I dragged a picture of a tiger that I downloaded from the internet in the photoshop and selected 'place'.The new layer is called 'tiger-regal'
Then, I lower down the tiger's opacity so that it is easy for me to adjust the tiger's image. When I'm done, I 'razterise' the tiger layer and erased whats not needed on the layer.

Next, I turned my tiger layer from 'Normal' to 'Overlay' with the opacity setting that I set to 100%. I then erase the neck part, not all, because I would later use the mixer brush tool.
I then select the the layer 'girraffe-copy' and used the mixer brush tool to 'mix brush' from the neck part to its whole lower body.
 I then select the layer 'tiger-regal' and used the burn tool (shortkey: [ALT]+[left-click mouse]) to darken some parts of the giraffe+tiger and dodge tool (just-left click on an object) to lighten up some parts of it. I also lowered the opacity from 100% to 83%.
I then set the layer to 'Hard light' from 'Overlay' and lower its opercity to 60%. I also erased more a bit on the neck of the giraffe. By the way, the brownish-pink-looking color below the giraffe+tiger appears clearly afer i set the 'tiger-regal' layer to 'Hard light'.

I'm done!