
Saturday, February 19, 2011
Saturday, January 15, 2011
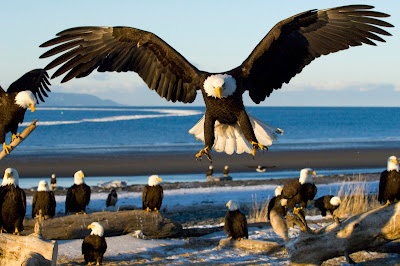
Samuel - April ( tiger + eagle )
1.)

2.)
This is the PRODUCT~

Step 1: Crop the eagle's wings.
 Step 2: Crop the tiger.
 Step 3: Resize the tiger and make a color correction on it.
 Step 4: Copy and paste the wings in the project file. Transform the wings into the correct place and size.
 Step 5: Create the April interface.
 Step 6: Place the tiger with wings into the calender, and using quick mask to remove to color of the wings.
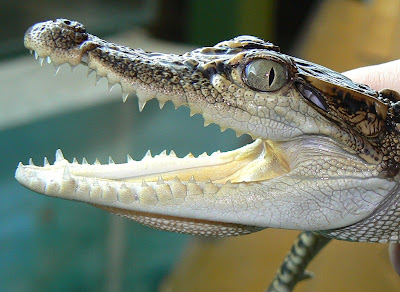
Samuel - March ( turtle + crocodile )
These are the sources that i downloaded.
1.) 2.)
2.)
 Step 2: Open the jpg file of turtle.
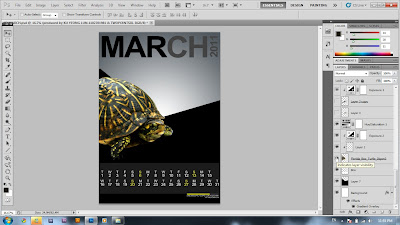 Step 3: Zoom in to the head of the turtle.
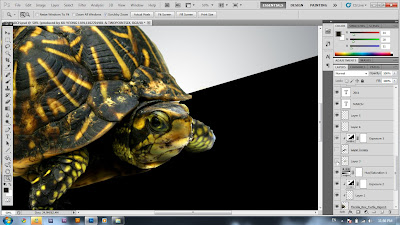 Step 4: Flip the image of crocodile, and crop it. Resize it until it suit the neck of turtle.
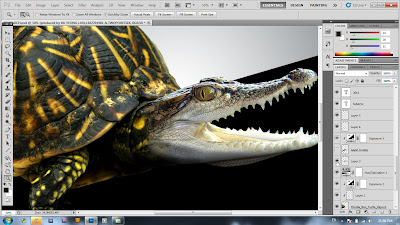 Step 5: using quick mask to make certain part to be colorless.
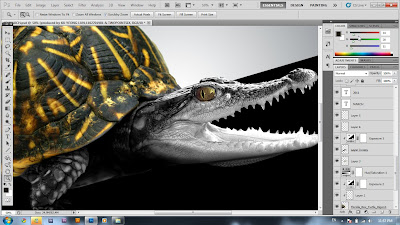 Step 6: Type my name and id.
1.)
 2.)
2.)
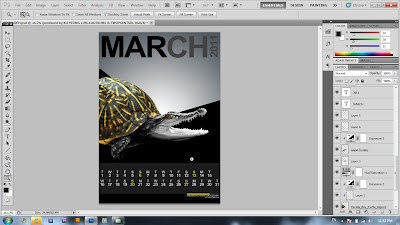
this is the final product.

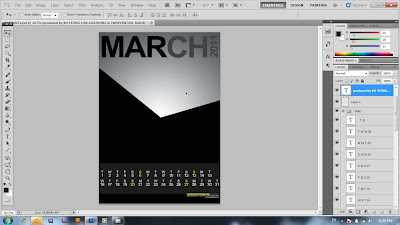
Step 1: get the interface design done. Arrange the dates according to it's month, which is march.
Step 2: Open the jpg file of turtle.Step 3: Zoom in to the head of the turtle.Step 4: Flip the image of crocodile, and crop it. Resize it until it suit the neck of turtle.Step 5: using quick mask to make certain part to be colorless.Step 6: Type my name and id.TADA~
Wednesday, January 12, 2011
JASON WONG - Part 5 ( Template for June)

then apply Blending Option. [Gradient Overlay]

Step 2: Create some Shapes with Rectangle Tool. Arrange it with Free Transform.


JASON WONG - PART 4 (Template for May)

Step 1, Open a NEW DOCUMENT [A4 in Vertical]
then apply Blending Option. [Gradient Overlay]
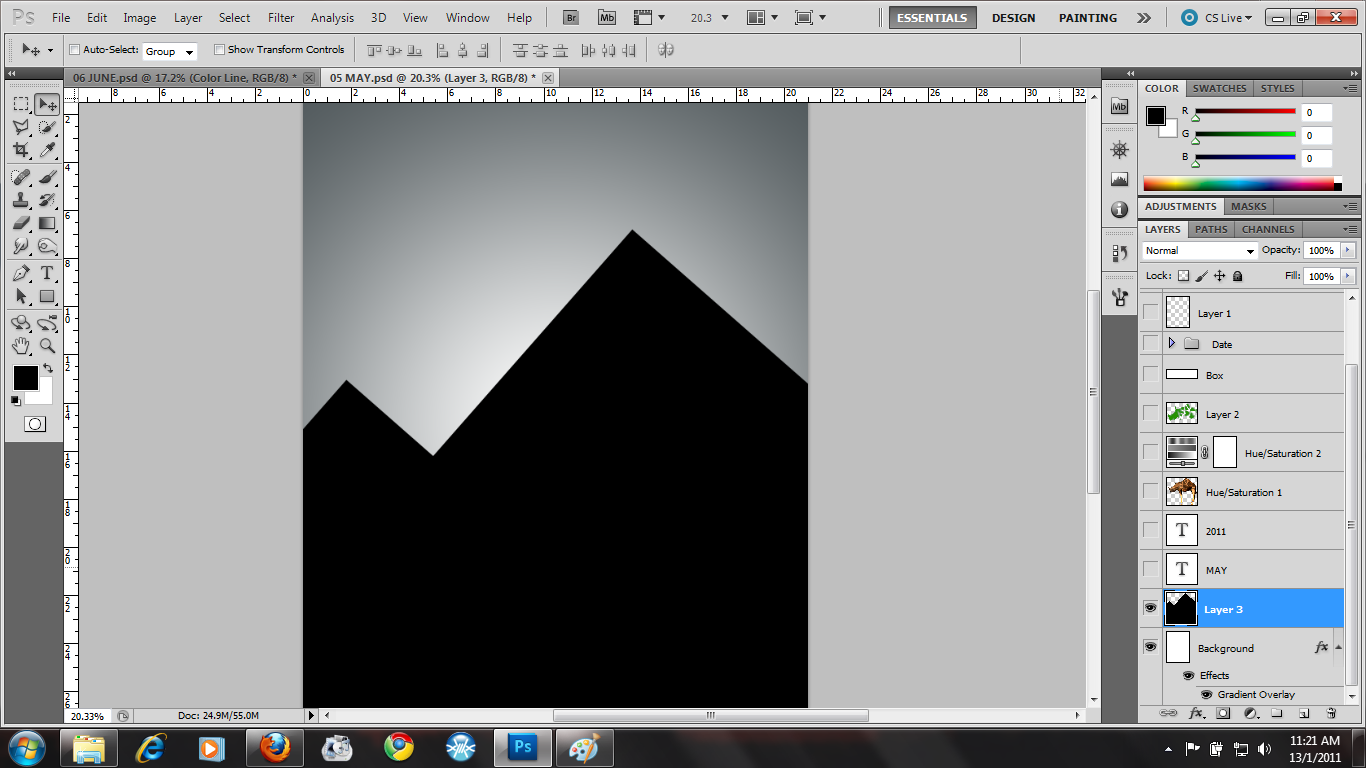
Step 2: Create some Shapes with Rectangle Tool. Arrange it with Free Transform.

Step 3: Add in Text. [Month Title and Year]

Step 4: Drag the image created before this, arrange it by using Free Transform Tool.

Step 5: Edit the Hue/Saturation for the animal crossbreed.

Step 6: Add a layer and fill in with colors by Paint Bucket Tool and set it to Soft Light.

Step 7: Add a box with its opacity decreased to 11%

Step 8: Add in the Dates by using Text Tool. Arrange it nicely and apply color to highlight the [Sunday].

Step 9: Add in Label that stated who are the designer.

Step 10: Add a color line box for decoration .

Done!
Subscribe to:
Comments (Atom)